The crankshaft position sensor is a vital component in vehicle engines that monitors the crankshaft’s position and rotation speed. It is crucial in achieving correct ignition timing and fuel injection. The wiring harness linking the sensor to the vehicle’s engine control module, on the other hand, can become damaged. So, how to fix crankshaft position sensor wiring harness?
In this article, we will learn more about the ways to repair a malfunctioning crankshaft position sensor wiring harness. You should also learn how to diagnose typical wiring issues, as well as the tools and materials required.
What Are Needed Tools And Materials Before Fixing?
Gathering the appropriate equipment and materials is essential before repairing a crankshaft position sensor wiring harness. They contribute to a smooth and successful restoration. Here’s a list of the tools and materials you’ll need:
Tools
Safety Gear: Your primary concern should be safety. Wear gloves and safety glasses to protect your hands and eyes while doing the repair.
Wrench and Socket Set: These tools may be required to separate the sensor from the engine block or any screws fastening the wiring harness.
Wire Strippers: Wire strippers are necessary for stripping the insulation from wires in order to make correct connections.
Crimping Tool: A crimping tool is used to secure electrical connectors, ensuring a stable connection between wires.
Heat Gun: To shrink heat shrink tubing, which insulates and protects the repaired connections, a heat gun is necessary.
Multimeter: A multimeter is used to test the wiring for continuity and resistance, ensuring that all connections are properly established.
Wire Cutters: These are used to remove damaged wiring harness portions.
Electrical Tape: Electrical tape is used to wrap and insulate connections, providing an extra layer of safety.
Materials
Heat Shrink Tubing: Heat shrink tubing insulates and protects repaired connections. Make sure you have a variety of sizes to accommodate the wires you’re dealing with.
Replacement Wires: If the wiring is severely damaged or corroded and cannot be fixed with connectors, you may need to splice in replacement wires.
Zip Ties or Wire Loom: These are used to secure the repaired wiring harness and keep it away from moving engine parts or hot surfaces. Cable management can be aided by the use of zip ties or wire looms.
Cleaning Supplies: Cleaning supplies may be required depending on the state of the wires and connectors. They are a contact cleaner and a wire brush for cleaning the connections of corrosion or debris.
How To Fix Crankshaft Position Sensor Wiring Harness?
Turn Off The Engine
To avoid any electrical dangers, park your vehicle in a safe spot, turn off the engine, and disconnect the battery.
Locate the Sensor
The crankshaft position sensor is usually found near the crankshaft, which is usually positioned toward the front of the engine. To precisely identify it, see your vehicle’s service manual.
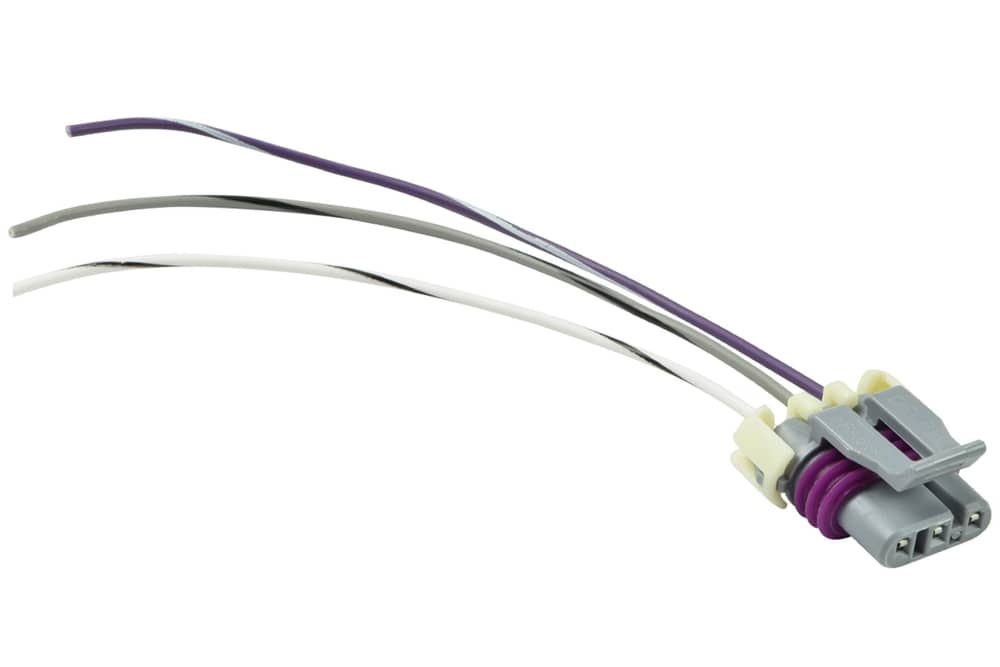
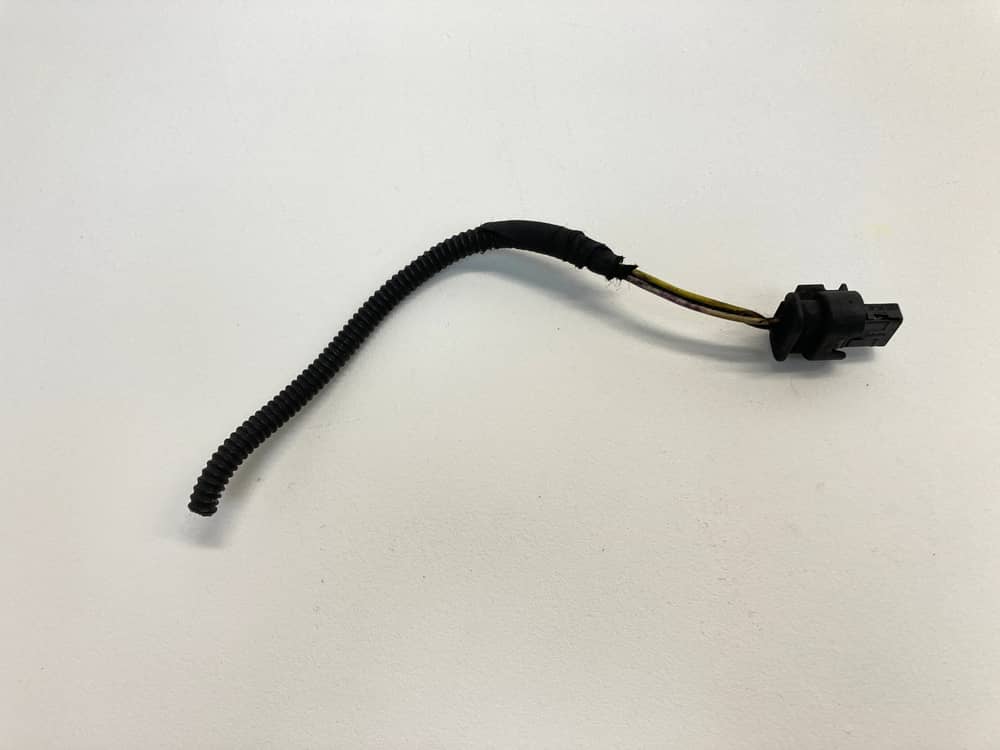
Inspect the Wiring
Examine the wiring harness for any evident damage. Examine the wires for frayed ends, exposed conductors, and loose connections. Chafing against sharp engine parts, heat exposure, and even rat damage are all common problems.
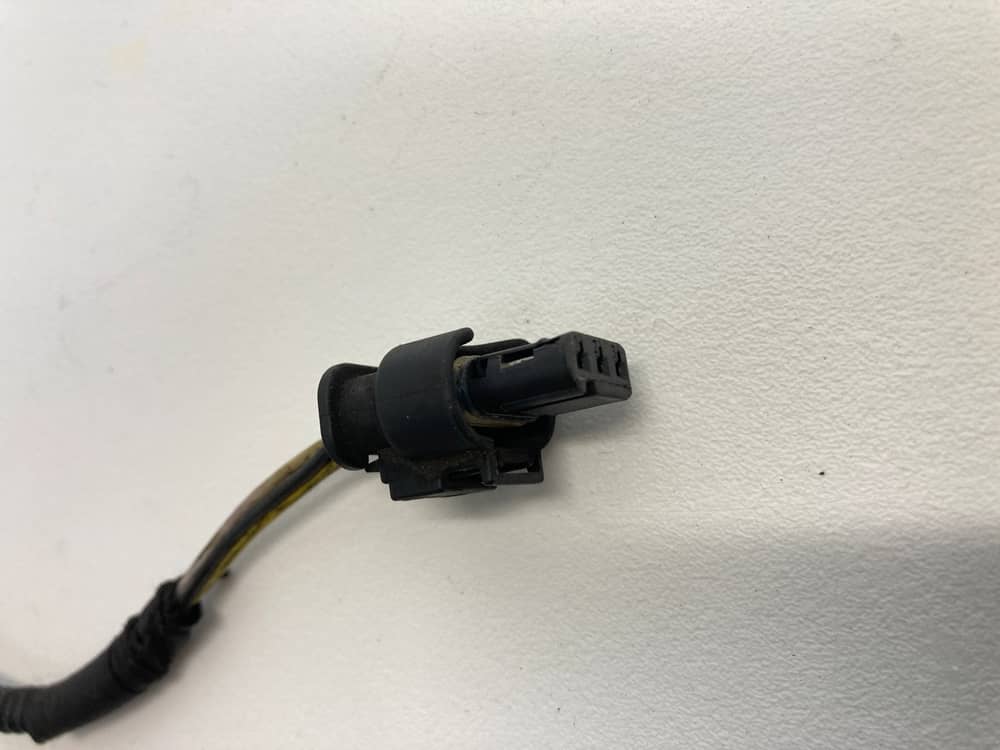
Disconnect the Sensor
Disconnect the wiring harness from the crankshaft position sensor with care. To remove any bolts or fasteners that are holding it in place, you may need to use a wrench or socket set.
Cut and Strip Damaged Wires
If you locate broken wires, use wire cutters to cut out the afflicted areas, leaving clean wire ends. Using wire strippers, remove roughly 1/2 inch of insulation from the wire ends. Remember to expose only clean, uncorroded wiring.
Splice and Crimp
If the damage is restricted to a short area of the wiring, link the clean wire ends together with butt connectors. Crimp the connectors tightly to provide a secure connection. Use the correct size connection for the wire gauge.
Heat Shrink Tubing
Slide a piece of heat shrink tubing over the crimped connection to preserve it and provide insulation. Make sure the tube completely covers the repaired part. Heat and shrink the tubing with a heat gun to completely seal the connection.
Wrap in Electrical Tape
Wrap the repaired area with electrical tape after applying the heat shrink tubing. This additional layer of protection shields the connection from moisture and dirt, extending its life even further.
Inspect Continuity
Check the repaired part for continuity using a multimeter set to continuity or resistance mode. Check for no resistance across the connection, which indicates a good electrical connection.
Reconnect the Sensor
Reconnect the crankshaft position sensor wiring harness. Verify the tightness of all bolts and fasteners.
Secure the Wiring
Secure the repaired wiring harness with zip ties or wire loom to keep it from coming into contact with any moving engine parts. To avoid further damage, proper routing and securing are required.
Reconnect the Battery
Connect the vehicle’s battery once you’re satisfied with the fix. Start the engine to see if the problem has been rectified. If the issue remains, double-check your repairs and wiring. It’s possible that there are other problems with the sensor or other system components.
Recall that it could be best to replace the complete wiring harness if it has sustained substantial damage or corrosion in multiple places.
When working on your vehicle, always emphasize safety. If you are unsure about your skills, you should seek the advice of a skilled mechanic.
What happens if the crankshaft position sensor is not producing a signal?
When the crankshaft position sensor fails to produce a signal, it can have an effect on the performance, dependability, and drivability of your vehicle. Here are some of the most common outcomes of a faulty crankshaft position sensor:
Engine Stalling or Failure to Start
One of the most obvious indications is that your engine may stall or refuse to start at all. The crankshaft position sensor sends important data to the engine control module (ECM) concerning the crankshaft’s position and speed. The ECM may be unable to trigger the proper ignition and fuel injection timing without this information. It causes difficulties starting the engine or stalling while driving.
Loss of Power
A faulty sensor can cause a loss of engine power, resulting in sluggish acceleration and poor performance. This is due to the fact that without proper crankshaft position data, the ECM may be unable to optimize the air-fuel combination and ignition timing.
Poor Fuel Efficiency
To alter fuel injection timing, the ECM uses data from the crankshaft position sensor. When this data is incorrect or missing, fuel may not be injected at the appropriate time. It results in poor fuel efficiency and lower gas mileage.
Check Engine Light
A faulty crankshaft position sensor is likely to illuminate your dashboard’s check engine light. When the ECM detects a missing or broken signal from a sensor, it logs a diagnostic trouble code (DTC) that a diagnostic scanner can read.
Rough Idle
An incorrectly functioning sensor might cause a harsh or inconsistent idle. While idle, the engine may vibrate or shake. It is unpleasant and may cause engine damage over time.
Increased Emissions
A faulty crankshaft position sensor can cause the engine to run inefficiently, resulting in increased emissions. This can result in a failed emissions test or increased vehicle pollution.
Hesitation and Misfires
Without reliable sensor data, the engine may hesitate during acceleration or misfire. This can have an impact on the vehicle’s overall performance and drivability.
Overheating
A faulty crankshaft position sensor can cause the engine to overheat in rare instances. Because the ECM may be unable to correctly alter cooling system functions in the absence of accurate sensor data.